

Installing armoured control cables on a cable ladder is a task that requires a clear understanding of both the cable and the installation process. As a seasoned Armoured Control Cable supplier, I've been involved in countless projects where proper installation plays a crucial role in the overall performance and safety of electrical systems. In this blog, I'll guide you through the step - by - step process of installing armoured control cables on a cable ladder.
Understanding Armoured Control Cables
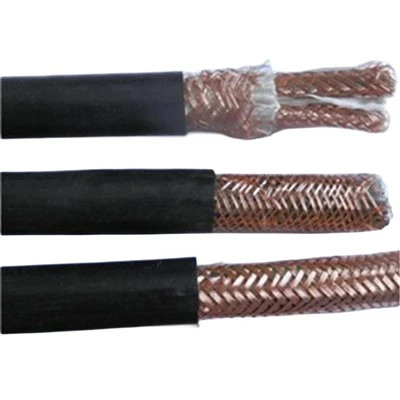
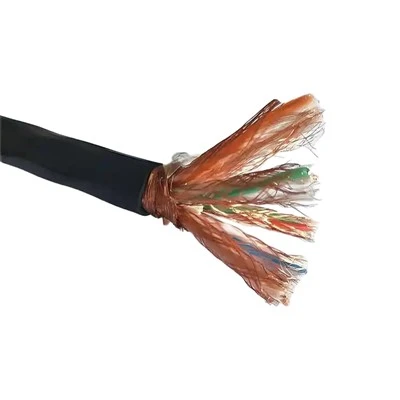
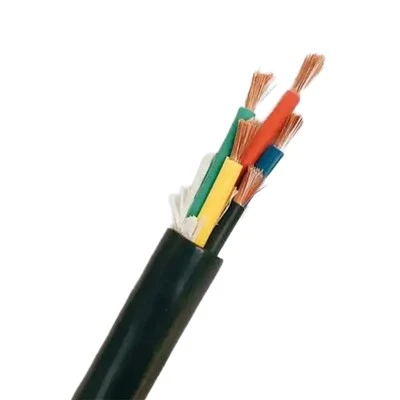
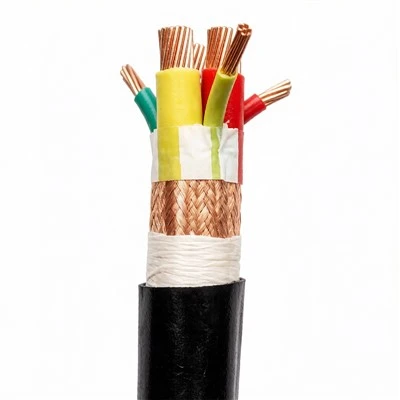
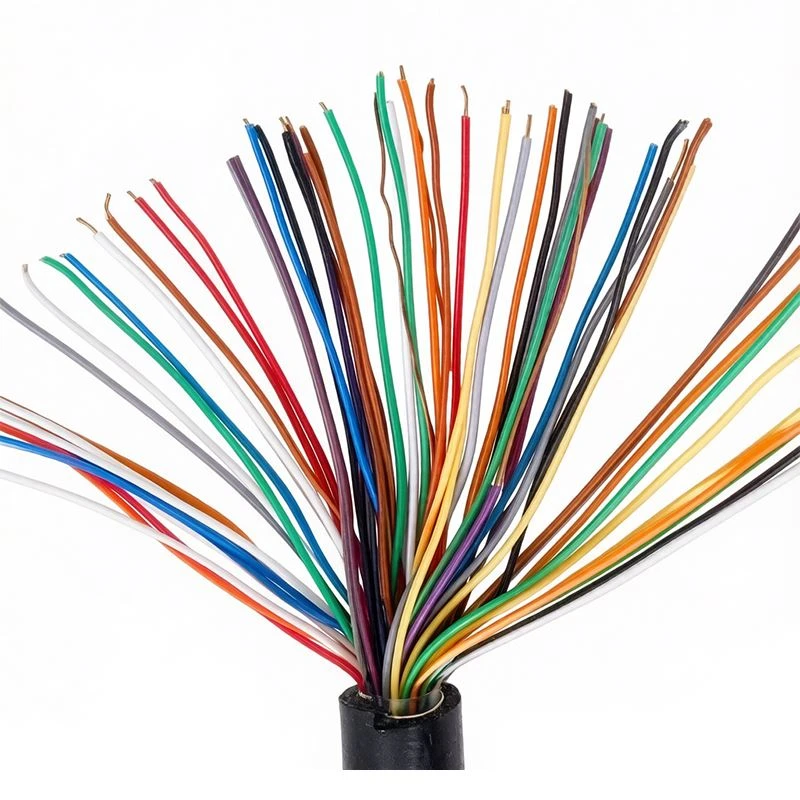
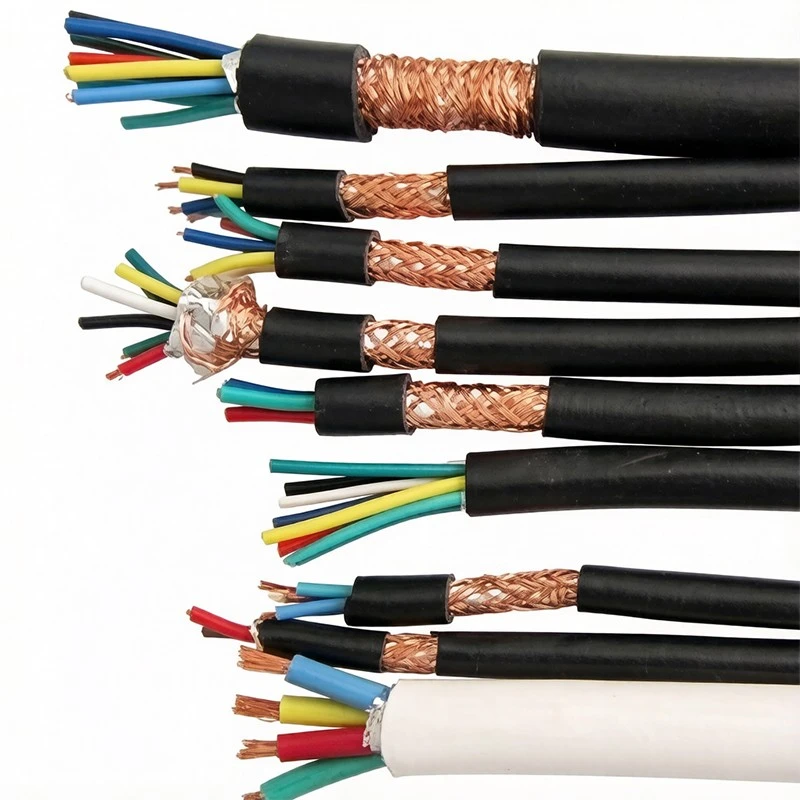
Before starting the installation, it's important to know what armoured control cables are. These cables are specifically designed to handle control signals in various electrical systems. The armour provides extra protection against mechanical damage, moisture, and even fire. We offer a wide range of armoured control cables, along with other types such as Fire Rated Instrumentation Cable, Multi Conductor Control Cable, Instrument Signal Cable, Silco Control Cables, and Copper Control Cable.
Pre - installation Preparations
1. Cable Ladder Inspection
First, thoroughly inspect the cable ladder. Check for any signs of damage, such as bent rungs, loose connections, or rust. Ensure that the ladder is properly supported and secured to the mounting surface. This is usually done using brackets at appropriate intervals. Any damaged parts of the ladder should be repaired or replaced before proceeding with the cable installation.
2. Cable Inspection
Inspect the armoured control cables. Look for any cuts, abrasions, or other damage to the outer armour or the inner conductors. Confirm that the cable length is sufficient for the installation and that it is rated for the specific application and environment. The cable should also be properly labeled to indicate its purpose and routing.
3. Gather Necessary Tools
You will need a set of tools for the installation. These typically include wire cutters, strippers, cable ties, a measuring tape, a drill (if additional holes are needed for cable supports), and a spirit level to ensure the cable ladder is horizontal.
Cable Routing
1. Plan the Route
Before placing the cables on the ladder, plan out the cable route. Consider the source and destination of the cables, any bends or turns required, and potential obstacles. Try to keep the cables as straight as possible to minimize stress and interference. Separate different types of cables to avoid cross - talk, especially between power cables and signal cables.
2. Placement on the Cable Ladder
Start by placing the armoured control cables on the cable ladder. Begin at the starting point of the route and slowly uncoil the cable while guiding it along the ladder. Make sure the cables are evenly spaced on the ladder to prevent overcrowding. Use cable ties at regular intervals to secure the cables to the ladder. The spacing of the cable ties depends on the cable size and the ladder design, but typically they should be placed every 1 - 2 meters.
3. Handling Bends and Junctions
When the cable needs to make a bend, ensure that the bending radius is within the manufacturer's specifications. For armoured control cables, a larger bending radius is often required to prevent damage to the armour and the inner conductors. At junctions where cables split or multiple cables meet, use cable guides or splitters to keep the cables organized.
Connection and Termination
1. Cable Preparation
Once the cables are routed on the ladder, the next step is to prepare them for connection. Use wire cutters to trim the cables to the appropriate length at the termination points. Then, use a cable stripper to remove the outer armour and the insulation from the conductors, exposing the bare wire.
2. Termination
There are different methods of terminating armoured control cables, such as using crimp connectors, soldering, or terminal blocks. Choose the appropriate termination method based on the cable type, the electrical requirements, and the application. Ensure that the connections are tight and secure to prevent loose connections that can lead to electrical failures or safety hazards.
3. Grounding
Proper grounding is essential for armoured control cables. Connect the armour of the cable to a suitable grounding point. This helps to protect the cable and the electrical system from electrical surges, static electricity, and other potential hazards.
Post - installation Checks
1. Visual Inspection
After the installation is complete, conduct a visual inspection of the entire cable installation. Check for any loose cable ties, exposed conductors, or signs of damage to the cables or the cable ladder. Make sure that the cables are neatly arranged and that there is no excessive slack.
2. Electrical Testing
Perform electrical tests to ensure that the cables are functioning properly. This may include testing for continuity, insulation resistance, and signal integrity. Use appropriate testing equipment, such as a multimeter or a cable tester.
3. Documentation
Document the cable installation, including the cable routes, termination points, and any test results. This documentation will be useful for future maintenance, troubleshooting, and system upgrades.
Maintenance and Long - term Considerations
Regular maintenance is important to ensure the long - term performance of the armoured control cables installed on the cable ladder. Inspect the cables periodically for any signs of wear, damage, or corrosion. Check the cable ties and supports to ensure they are still secure. If any issues are found, address them promptly to prevent further damage and potential system failures.
Conclusion
Installing armoured control cables on a cable ladder is a multi - step process that requires attention to detail and following proper procedures. By understanding the cable, preparing thoroughly, and following the correct installation techniques, you can ensure a safe and reliable electrical system. As an Armoured Control Cable supplier, we are committed to providing high - quality cables and technical support. If you are interested in purchasing our armoured control cables or have any questions about the installation process, feel free to contact us for further discussion and negotiation. We look forward to serving you with all your cable needs.
References
- Electrical Installation Manuals
- Cable Manufacturer's Technical Documents
- National Electrical Codes and Standards
- Industry Best Practices for Cable Installation