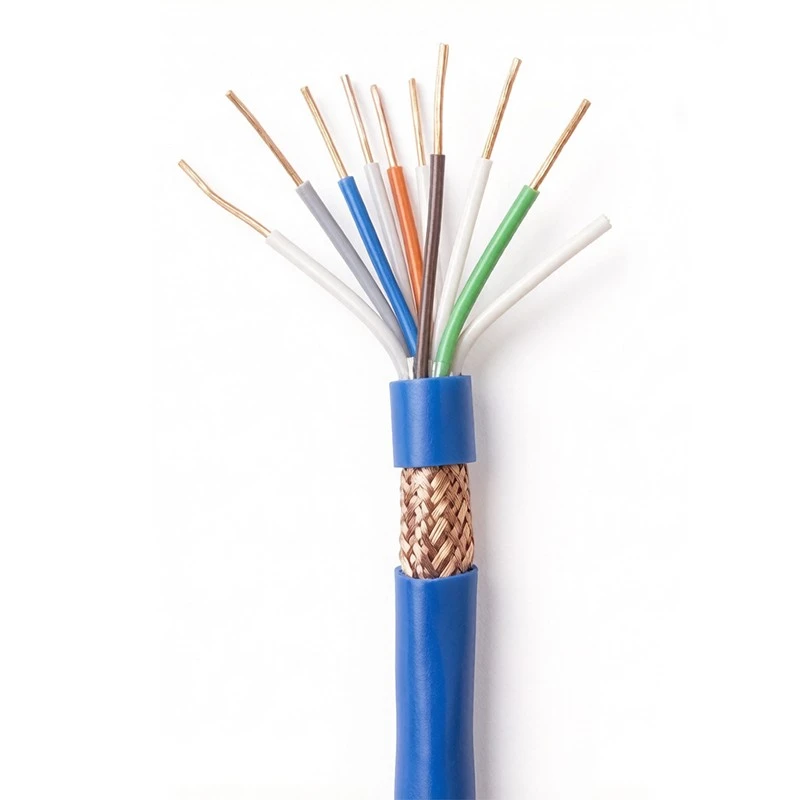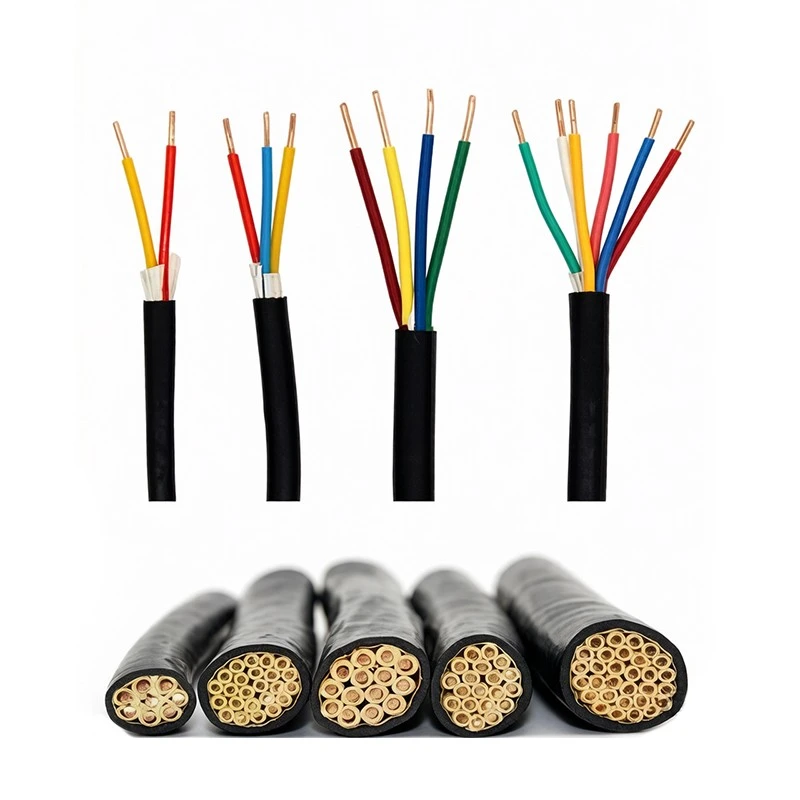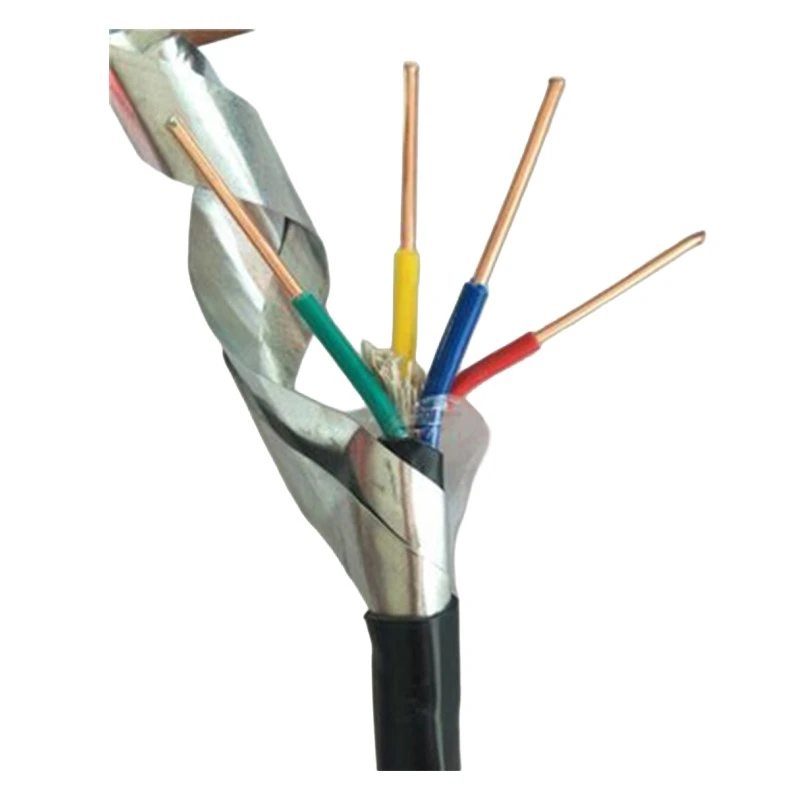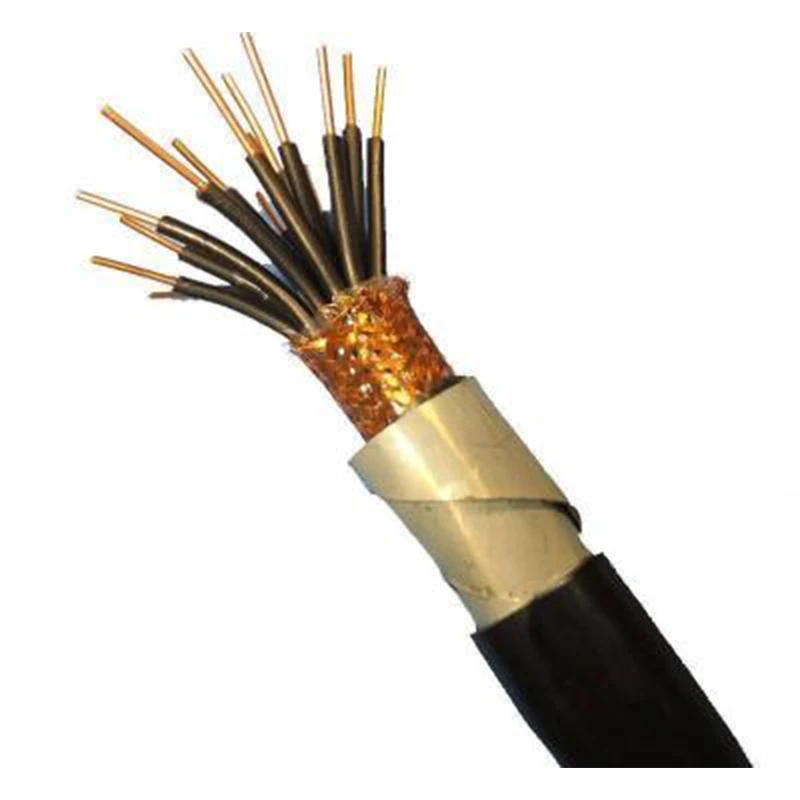


Hey there! As a supplier of Copper Control Cable, I'm stoked to share with you all the nitty - gritty details on how to install these cables. Copper control cables are super important in a bunch of electrical systems, from industrial setups to home automation. They're used to carry control signals, and getting the installation right is crucial for the smooth operation of your equipment.
Pre - installation Preparation
Before you even think about getting your hands dirty and starting the installation, there are a few things you gotta take care of. First off, you need to do a proper site survey. Check out the area where you're gonna install the cable. Look for any potential hazards like sharp edges, high - temperature areas, or places where the cable might get crushed.
You also need to measure the length of cable you're going to need. It's better to measure a couple of times to make sure you get an accurate figure. And don't forget to leave a little extra length for any future adjustments. Speaking of which, having some spare cable is a good idea.
Gather all the tools you'll need for the job. This includes a cable cutter, wire strippers, crimping tools, and maybe a drill if you need to make holes for mounting brackets. If you're working with large - scale installations, you might also need some specialized equipment like cable pullers.
Selecting the Right Cable
As a Copper Control Cable supplier, I know how important it is to choose the right cable for your application. You need to consider the voltage rating, the number of conductors, and the environmental conditions.
If you're dealing with a high - voltage system, make sure the cable you pick can handle it. The number of conductors depends on the complexity of the control signals you're going to be transmitting. For simple systems, you might only need a few conductors, but for more complex setups, you could need a Multi Conductor Control Cable.
The environmental conditions are also a big deal. If the cable is going to be exposed to moisture, chemicals, or extreme temperatures, you need to choose a cable with the appropriate insulation. For example, a Silco Control Cables might be a good option for high - temperature environments.
Cable Installation Steps
Step 1: Route the Cable
Once you've got everything ready, it's time to start routing the cable. Plan out the path the cable will take. Try to keep it away from other electrical cables that might cause interference. You can use cable trays, conduits, or cable clips to support and protect the cable.
If you're using a conduit, make sure it's the right size for the cable. You don't want the cable to be too tight or too loose inside the conduit. And when you're pulling the cable through the conduit, be careful not to damage the insulation.
Step 2: Terminate the Cable
After you've routed the cable, it's time to terminate it. First, use the wire strippers to remove the insulation from the ends of the conductors. Make sure you don't cut into the copper wire.
Then, you can use crimp connectors to attach the conductors to the terminals. Make sure the crimp connection is tight and secure. You can use a crimping tool to do this properly. Check the manufacturer's instructions for the correct crimping force and size of the crimp connectors.
Step 3: Connect to the Devices
Once the cable is terminated, you can connect it to the control devices. This could be a Motor Control Cable connection to a motor, or an Electrical Control Cable connection to a control panel.
Make sure you connect the conductors to the right terminals. Double - check your wiring diagram if you have one. And when you're tightening the terminal screws, don't over - tighten them, as this could damage the conductors.


Testing the Installation
After you've completed the installation, it's super important to test the cable. You can use a multimeter to check for continuity in the conductors. This will tell you if there are any breaks in the wire.
You also need to check for any short - circuits between the conductors. If you find any issues during the testing, you need to go back and fix them right away.
Safety Precautions
Throughout the entire installation process, safety should be your top priority. Always turn off the power before you start working on the cable. If possible, lock out the power source to prevent anyone from accidentally turning it back on.
Wear appropriate safety gear like gloves and safety glasses. When you're using tools, make sure you use them correctly and follow the safety instructions. And if you're working in a hazardous area, make sure you follow all the safety regulations.
Troubleshooting
Even if you follow all the steps correctly, there could still be some issues. If you notice that the control signals are not working properly, check the cable for any signs of damage. Look for cuts in the insulation or loose connections.
If there's interference in the signal, it could be due to the cable being too close to other electrical cables. Try re - routing the cable to a different path.
Why Choose Our Copper Control Cable
We, as a Copper Control Cable supplier, take pride in offering high - quality cables. Our Copper Control Cable is made from the finest copper, ensuring excellent conductivity and durability. We also have a wide range of options to fit different applications, whether it's a small home project or a large - scale industrial installation.
If you're in the market for Copper Control Cable or have any questions about installation, we're here to help. Our team of experts can provide you with all the support you need to make your project a success. So, don't hesitate to reach out to us for a discussion about your requirements. We can offer you the best advice and the right products for your needs.
References
- Electrical Installation Handbook, Schneider Electric
- National Electrical Code (NEC)
- Cable Installation Best Practices Guide, Industry Standards Organization