

Hey there, folks! I'm [Your Name], and I'm part of a control cables supplier team. We've been in the biz for quite a while, and I've seen firsthand the impact of proper control cable installation. It's not just about slapping wires together; it's a precise process that can make or break a system's performance. In this blog, I'm gonna walk you through the ins and outs of installing control cables properly.
Understanding the Types of Control Cables
Before we dive into installation, it's crucial to understand the different types of control cables out there. Each type has its unique features and is designed for specific applications.
-
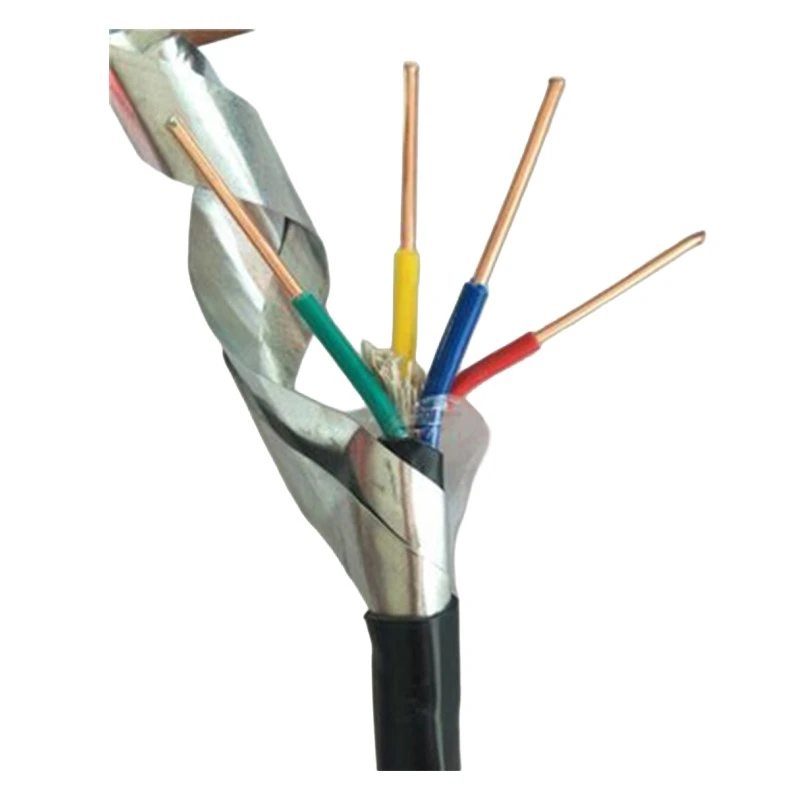
Armoured Control Cable: These cables are built tough. The armour provides extra protection against mechanical damage, making them ideal for harsh environments. Whether it's in industrial plants or outdoor settings where cables might be exposed to physical stress, armoured control cables are a reliable choice.
-
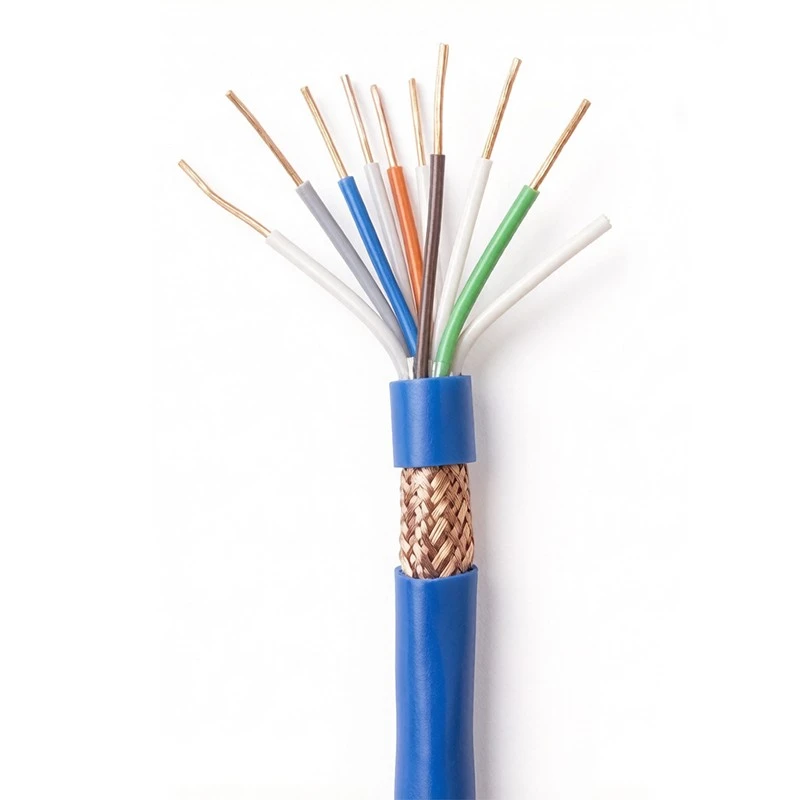
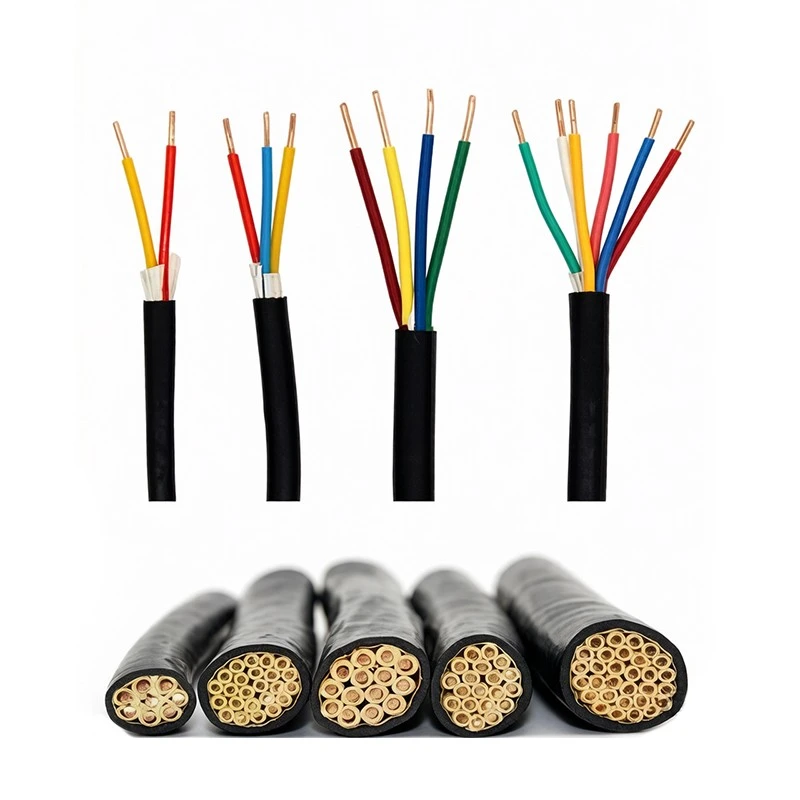
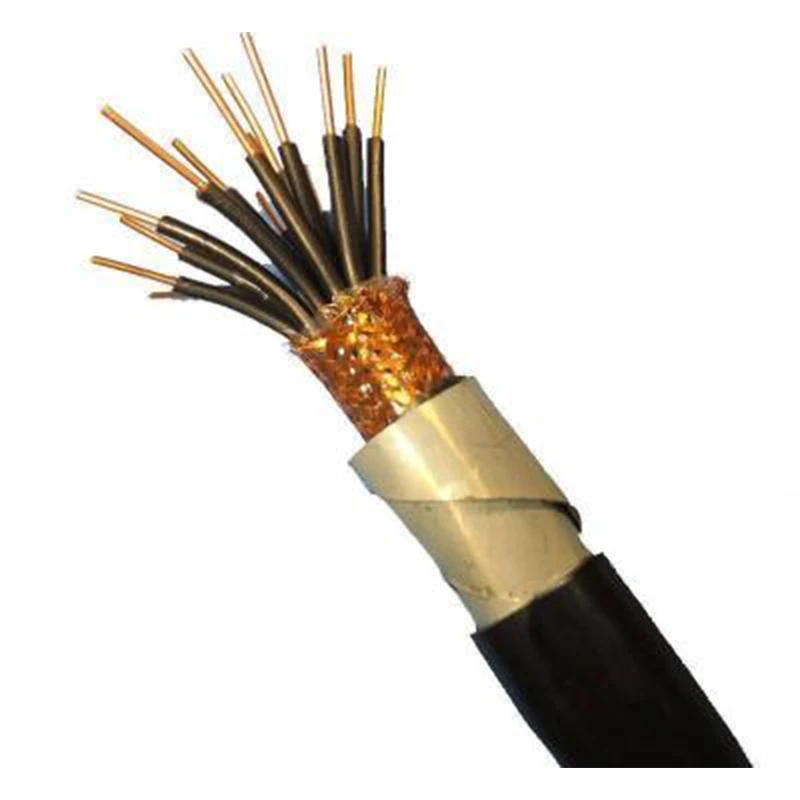
Multi Conductor Control Cable: As the name suggests, these cables have multiple conductors. They're great for applications that require the transmission of multiple signals simultaneously. Think of complex machinery where different components need to communicate with each other; multi-conductor control cables get the job done.
-
Flexible Instrument Cable: Flexibility is the key here. These cables are designed to bend and move without causing damage to the conductors. They're often used in applications where the cable needs to be routed around tight corners or in areas where there's movement, like in robotic systems.
-
Instrument Signal Cable: These cables are all about accurately transmitting signals. They're used in instrumentation and control systems to ensure that the data being sent and received is precise. In industries like chemical processing or power generation, where accurate measurements are crucial, instrument signal cables are a must.
-
Motor Control Cable: As you might guess, these cables are designed to control motors. They handle the power and signals required to start, stop, and regulate the speed of motors. In industrial settings with large motors, the proper installation of motor control cables is essential for reliable operation.
Pre-Installation Preparation
Once you've selected the right type of control cable for your application, it's time to get ready for installation. Preparation is key to ensuring a smooth and successful installation process.
-
Plan the Route: Before you start laying the cable, take some time to plan the route. Consider factors like the shortest path, avoiding areas with high heat or moisture, and any potential obstacles. You want to minimize the length of the cable and reduce the chances of damage.
-
Check the Environment: Make sure the installation environment is suitable for the cable. Check for things like temperature, humidity, and the presence of any chemicals or corrosive substances. If necessary, take steps to protect the cable, such as using conduit or cable trays.
-
Gather the Tools: You'll need a few tools for the installation, including wire strippers, crimping tools, and cable ties. Make sure you have all the necessary tools on hand before you start.
-
Inspect the Cable: Before you install the cable, give it a thorough inspection. Look for any damage, cuts, or kinks in the cable. If you find any issues, don't use the cable; it's better to replace it than to risk a faulty installation.
Installation Steps
Now that you're prepared, it's time to start installing the control cable. Here's a step-by-step guide to help you through the process.
-
Uncoil the Cable: Start by uncoiling the cable carefully. Make sure you don't kink or twist the cable as you uncoil it. If the cable is long, you might want to use a cable reel to make the process easier.
-
Route the Cable: Follow your planned route and lay the cable in place. Use cable ties or clips to secure the cable at regular intervals. Make sure the cable is not too tight or too loose; it should have some slack to allow for movement.
-
Terminate the Cable: Once the cable is in place, it's time to terminate it. This involves stripping the insulation from the ends of the cable and connecting it to the appropriate terminals. Use wire strippers to remove the insulation, and make sure you expose the right amount of conductor. Then, use crimping tools to attach the terminals to the conductors.


-
Test the Cable: After you've terminated the cable, it's important to test it to make sure it's working properly. Use a cable tester to check for continuity, resistance, and insulation resistance. If the cable fails the test, you'll need to go back and check your installation for any issues.
-
Secure and Protect the Cable: Once the cable is tested and working properly, it's time to secure and protect it. Use cable trays, conduit, or other protective measures to prevent the cable from being damaged. Make sure the cable is properly labeled so that it's easy to identify in the future.
Common Installation Mistakes to Avoid
Even if you follow the installation steps carefully, there are still some common mistakes that people make. Here are a few to watch out for:
-
Over-Tightening the Cable: If you tighten the cable too much, it can cause damage to the conductors and insulation. Make sure you use the right amount of tension when securing the cable.
-
Not Using the Right Tools: Using the wrong tools can make the installation process more difficult and increase the chances of making mistakes. Make sure you use the right tools for the job.
-
Ignoring the Environment: If you don't take the installation environment into account, the cable can be damaged by heat, moisture, or chemicals. Make sure you choose the right type of cable for the environment and take steps to protect it.
-
Poor Termination: If the cable is not terminated properly, it can cause signal loss, short circuits, or other problems. Make sure you follow the manufacturer's instructions when terminating the cable.
Conclusion
Proper control cable installation is essential for the reliable operation of your systems. By understanding the different types of control cables, preparing properly, following the installation steps carefully, and avoiding common mistakes, you can ensure that your control cables are installed correctly and will provide years of trouble-free service.
If you're in the market for high-quality control cables, we're here to help. We've got a wide range of Armoured Control Cable, Multi Conductor Control Cable, Flexible Instrument Cable, Instrument Signal Cable, and Motor Control Cable to meet your needs. Contact us to learn more about our products and services, and let's start a conversation about your control cable requirements.
References
- Electrical Installation Handbook, Schneider Electric
- National Electrical Code (NEC), NFPA